

The Lift part 2
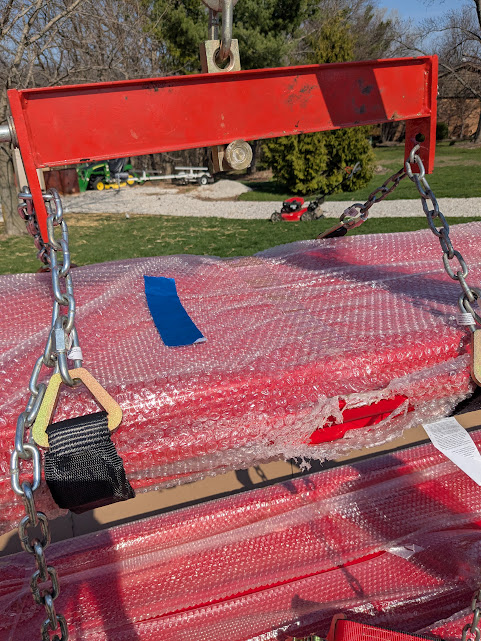
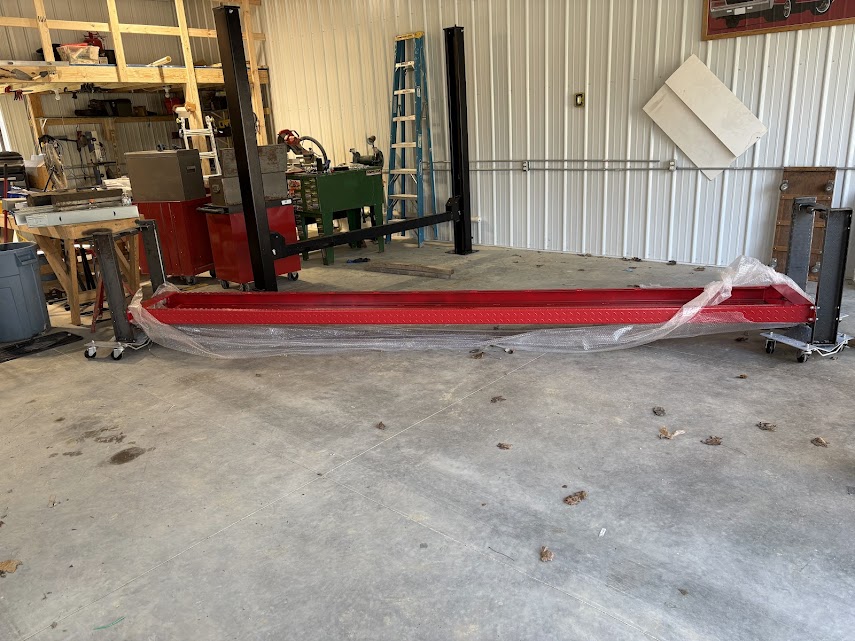
All the time I was unpacking the lift, my biggest concern was how I was going to get the 14′ ramps off the trailer and into the shop. Once all of the parts packed inside were removed, all that was left were the two runways bolted together by a ‘sacrificial’ steel frame. Using my engine hoist I lifted the runways off the trailer.
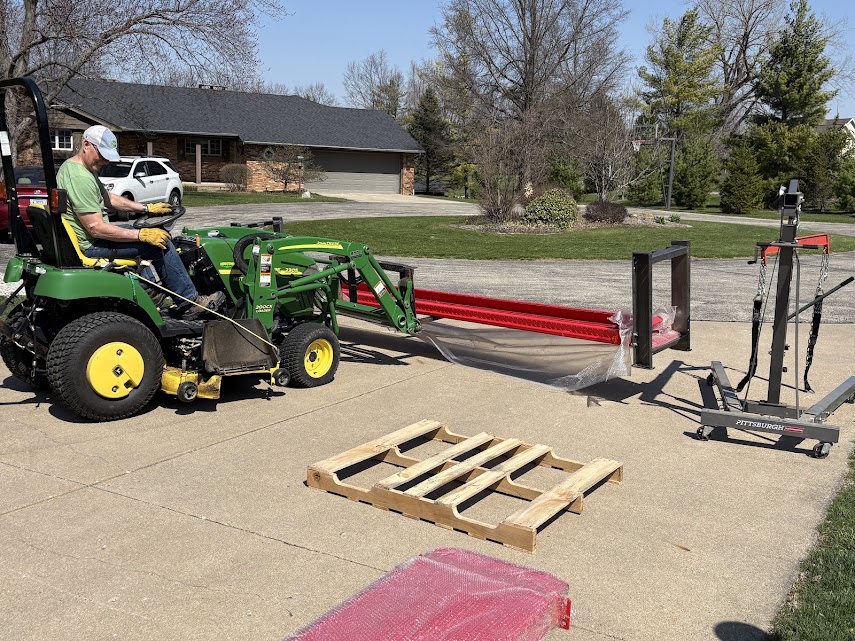
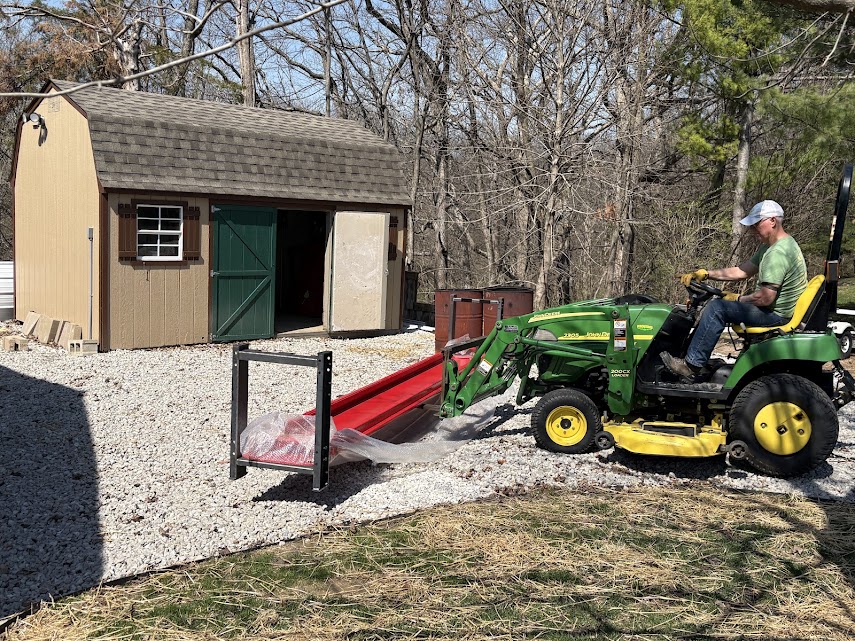
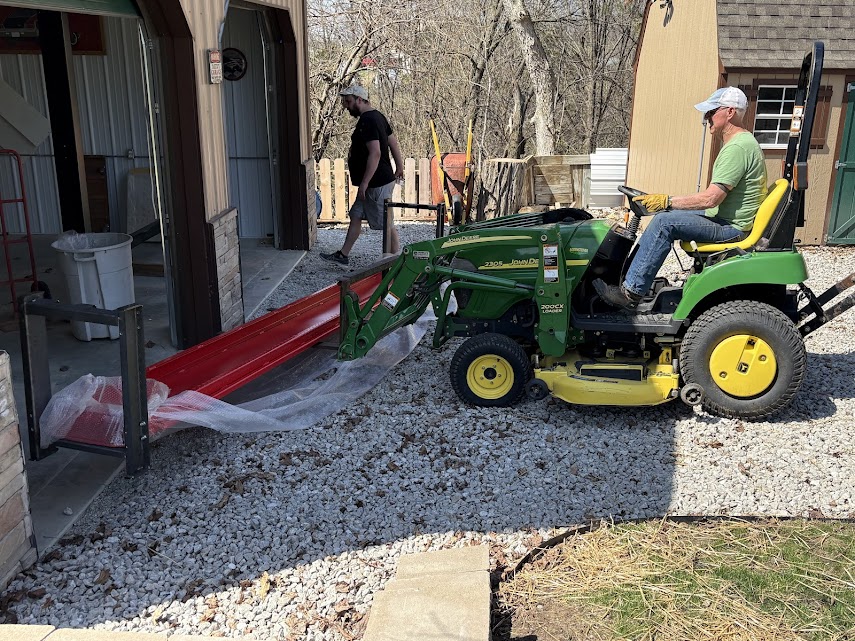
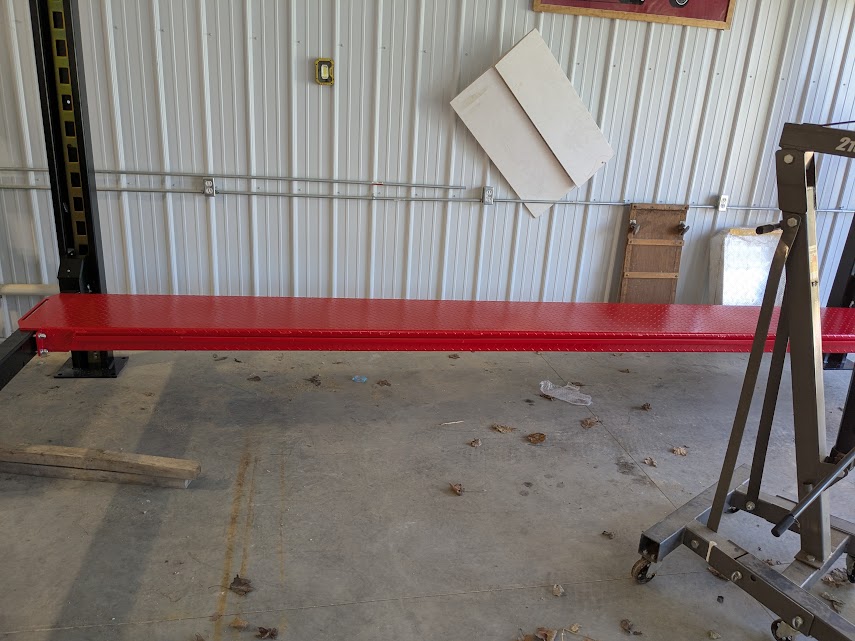
At that point, I still didn’t know if my little John Deere could lift one of the runways. It could. Using forks I was able to carry the 14′ steel into the garage. I used car dollies to easily position them for assembly
Before I go any further, I do have to say a word about the assembly manual and instructions included with the package. That ONE word would be: awful, terrible, incomplete, and poorly ‘englished’.
I knew the instructions would be bad; I had read reviews and watched videos and everyone warned that the manual was the worst. But I guess I really wasn’t as prepared as I thought. I started to get a little nervous. This wasn’t some little cabinet from IKEA. This was a heavy hunk of metal that would be putting an even heavier hunk of metal six foot in the air with me underneath.
So I watched numerous videos on the lift assembly. I would hit pause to get a look at the parts and where they fit. I did have to undo and redo a few pieces. The more that happened, the more I learned. So much in fact I now believe I could build another unit without so much as a peek at page one.

Two days later and it was built. But they had sent the wrong hose fitting so I would have to wait three weeks until I could test the lift. Plus I had to get it wired.
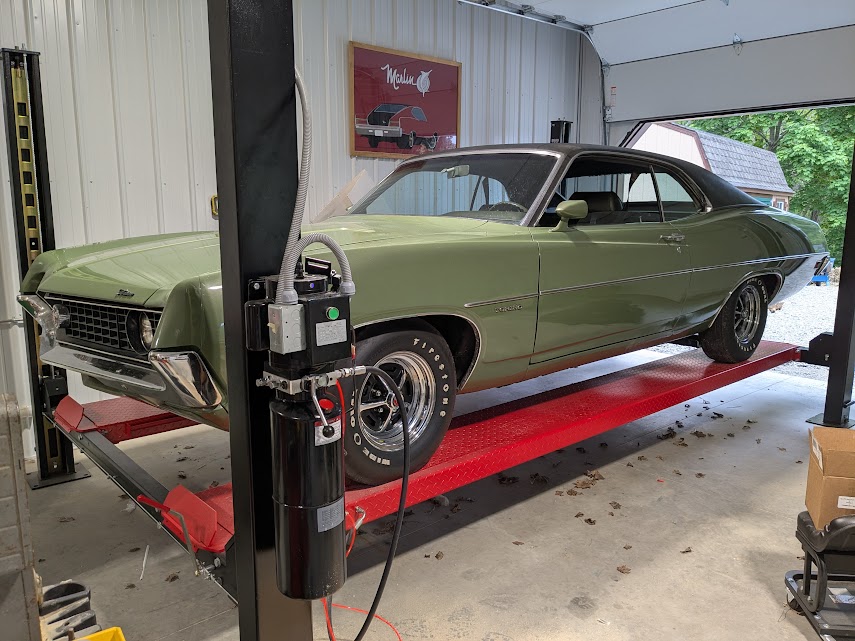
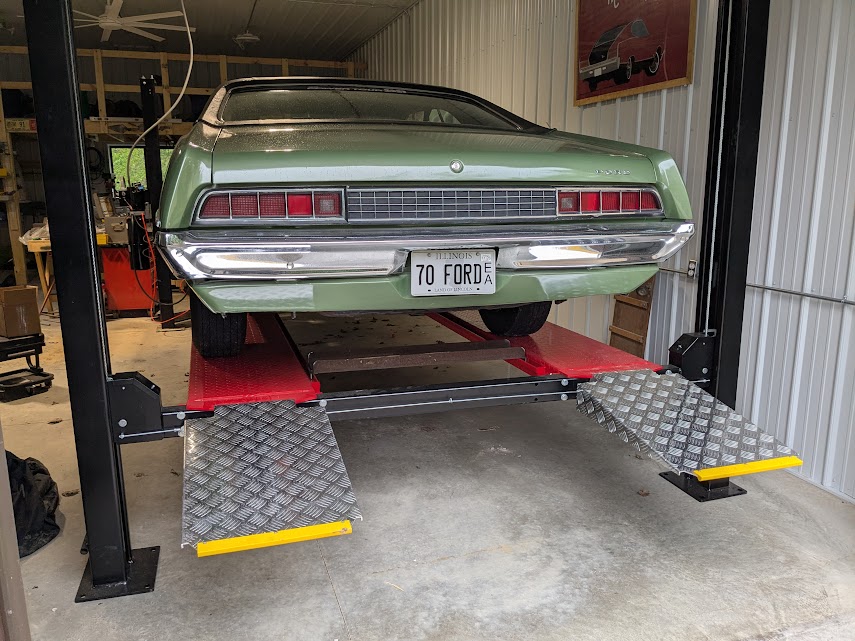
Finally getting the lift was a pretty big deal for me.
Now I need to find time to use it. Yes, the Torino is setting on it for now but that’s the car that least likely to end up on the lift. My two Marlin, especially the non-running one, will spend a lot of the time up in the air. If I can find the time.