
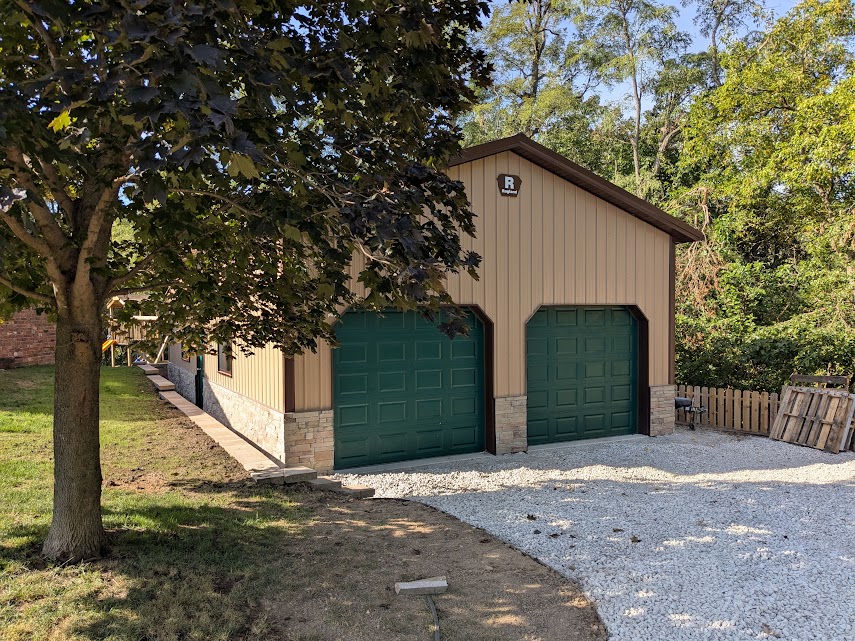
Well I got the building, now I have to be able to get to with vehicles. I had a good idea on where the drive would go when I started the building but now with everything in place I had the dimensions.
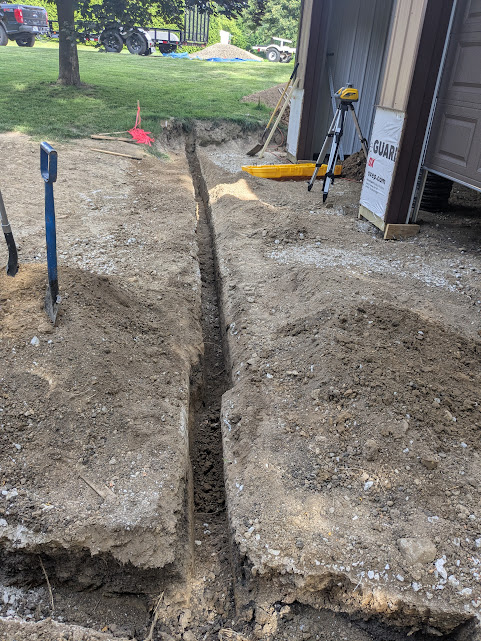
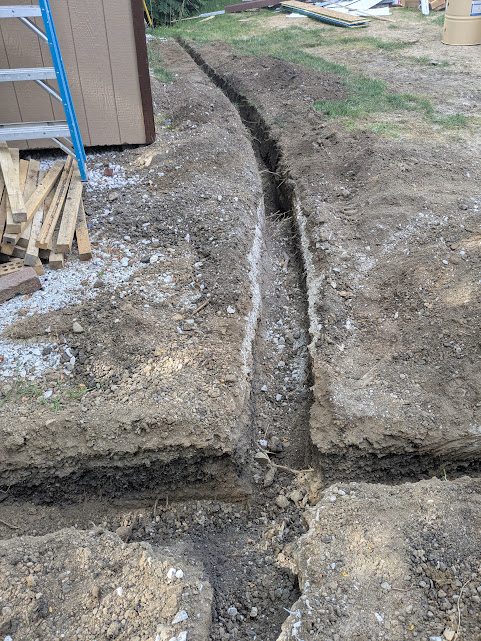
With the building was finished and before the concrete was poured, I trenched a tile across the front of the garage doors. I had watched this area during heavy rains and water drained from up the hill down between the workshop and the shed’s new location. I needed to make sure that the water would not flow right into the workshop.
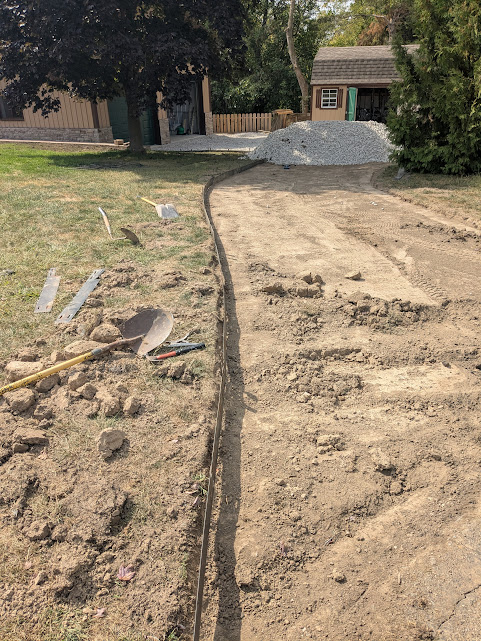
Once the drainage was figured out, I marked out where I thought the driveway should go. I used the current worn path of vehicles and other traffic and expanded the edge to make the drive 12′ wide. I made every effort to stay away from the Crimson maple.
I rented a sod cutter and cut away the grass and 2-3″ of dirt. It was starting to take shape. I needed some type of border to hold the gravel in and withstand the abuse and weight of vehicle traffic that might not stray on the gravel. Plastic was out. Thick brick would have looked nice but would have taken some time to mortar in place. Plus the brick would have been very cumbersome to change if the size and shape of the drive didn’t quite work (spoiler alert: I will likely change and expand the drive in the spring of 2026).
The best solution was to use steel border edging. A quick check of the price and it looked as though the steel would put a hurt on my budget. On a whim, I took a look on Marketplace and found enough used edging to do the whole drive with a little extra. The pieces I got had a little rust and wear but once the gravel and the dirt was built up, you’d never see the rust parts. It still wasn’t cheap but overall, I think I got a good deal.
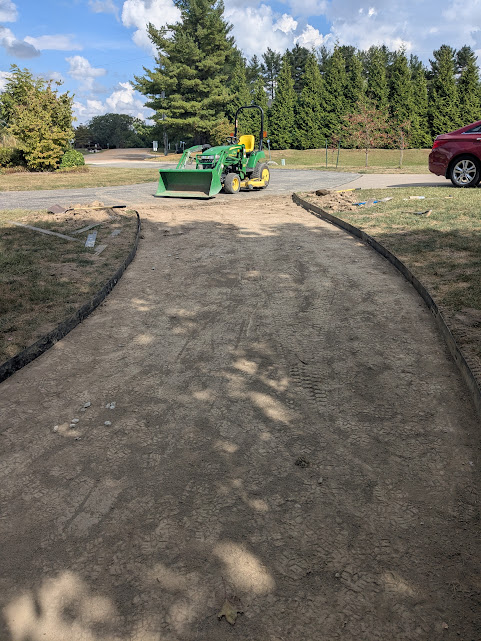
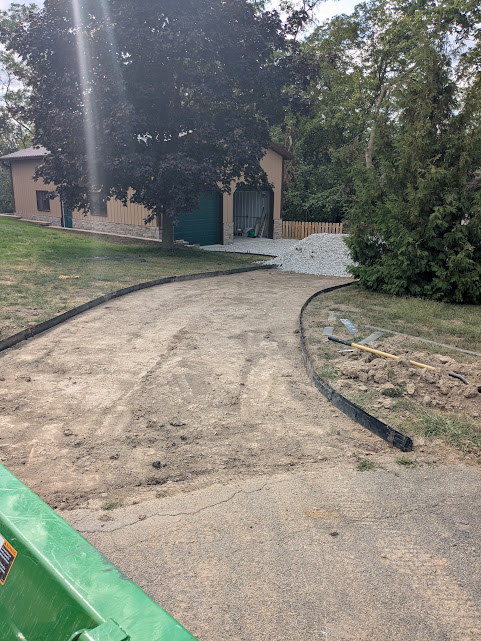
Another full truck of gravel and the drive was done. Well sort of. I still need to work out the border on north edge. I can back the cars out just fine but I’ve got some other dirt and gravel pile there for another spring project. At least it looks good from the road.