
The wall was continuing to take shape. The courses of poles were slowly getting to the string. But as the rows of poles were added, I was getting a little uneven and more importantly, gaps were developing between the poles. That was going to be a problem.
Going to all the trouble to build a strong wall just to have the dirt and rock leak out of the seams was not acceptable. I though about lining the walls with styrofoam but that would cost a lot. Plus the uneven poles would likely not allow the foam to seal up tight enough. Using bigger rocks as backfill would have been a viable solution but I didn’t have enough(broken concrete) on site to fill to void.
The the idea of lining it with boards started looking like a good idea. But once again, the cost would be 3-400 dollars. Then on a whim, I took a look at Craigslist and Facebook Marketplace.
There was nothing on Craigslist but I got lucky on Marketplace. I found 6′ treated deck boards used for fencing. Only the bottom few inches were damaged, the rest of the board was in good shape. I bought all 120 of the boards he was selling for $100.00.
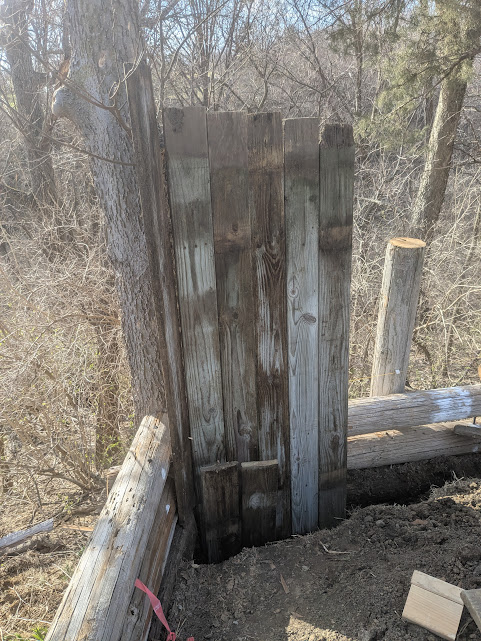
I lined up the boards against the inside of the wall and screwed them in to serve as a ‘liner’.
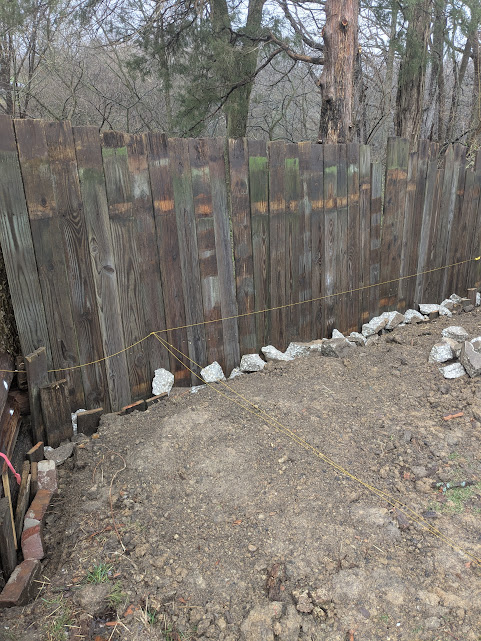
Once I got all the boards in place, it was time to start the backfill. I ordered pea gravel for the fill. The small gravel would be the best choice fill-in tight areas and would not pack down or settle. Since I was planning on moving the building into this area as soon as it was complete, I wouldn’t have time to let dirt settle and pack in. I needed something to provide immediate support. I started moving the gravel and quickly used around 8 ton. I also used up the rest of the broken concrete.
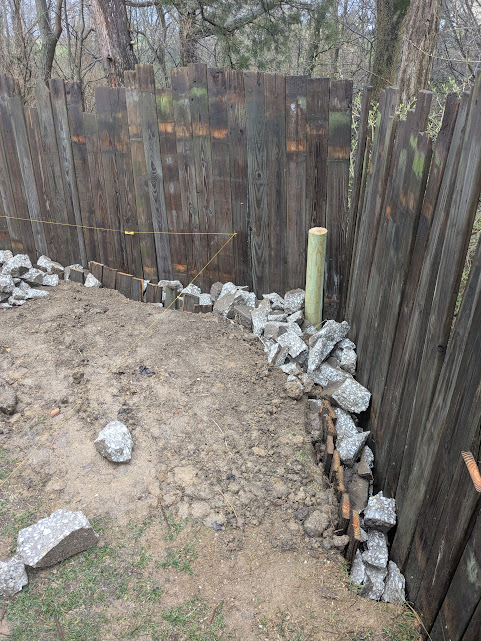
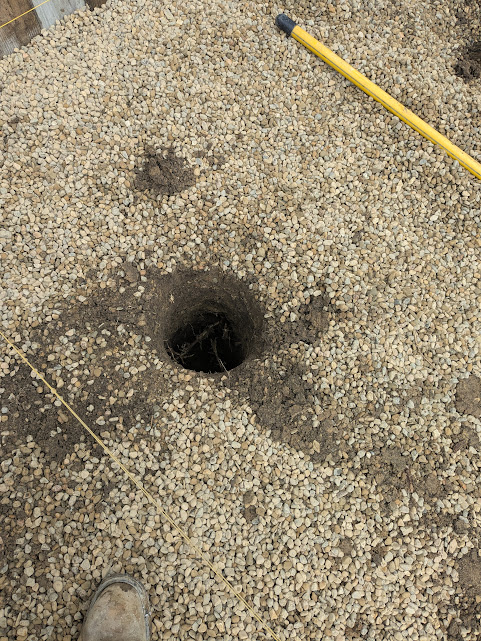
I had about a third of the fill added when I stopped adding and started digging more holes. I felt like I was in the movie by the same name. I would need footings for the he-shed.
The shed is built of 4×4 treated lumber. And while I was not planning on much settling with the rock, I still need to support the shed. I dug a series of holes between 36″ and 42″ deep.
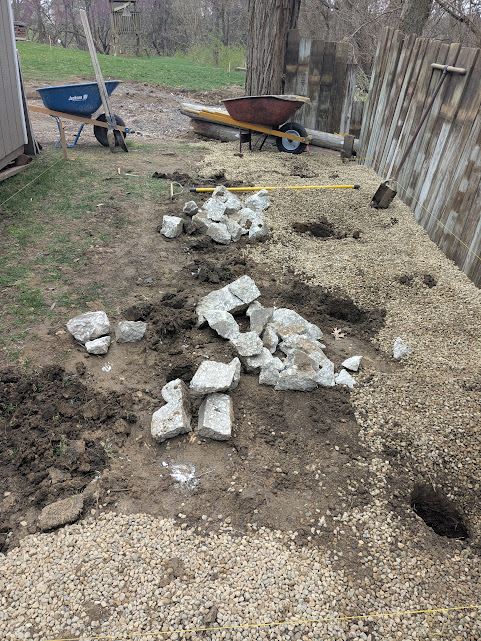
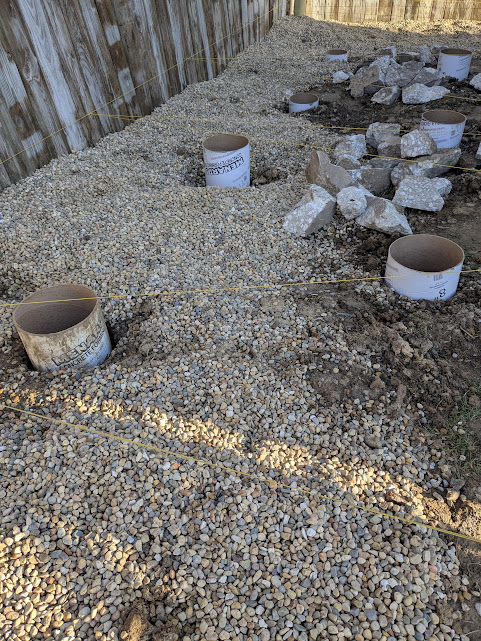
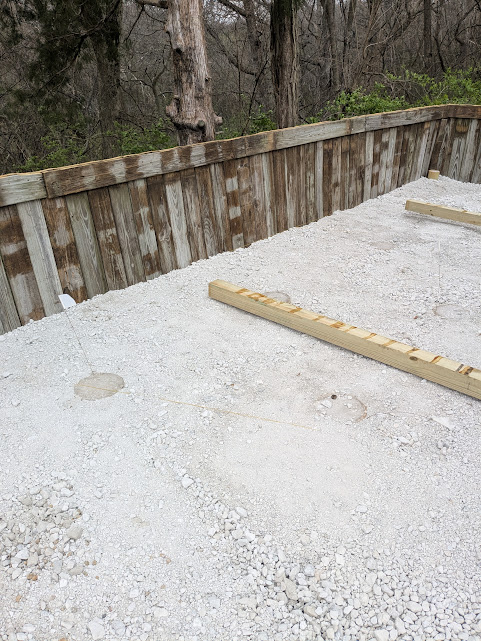
Since the fill level was still to low, I need to make the concrete footings tall enough to match the grade. You can see the yellow string running back and forth connected to the level line along the fence. I bought 8″ dia. cardboard tubes at Menards and cut them in half. The whole four foot tube didn’t need to go that deep into the hole-just enough to raise it to match the grade.

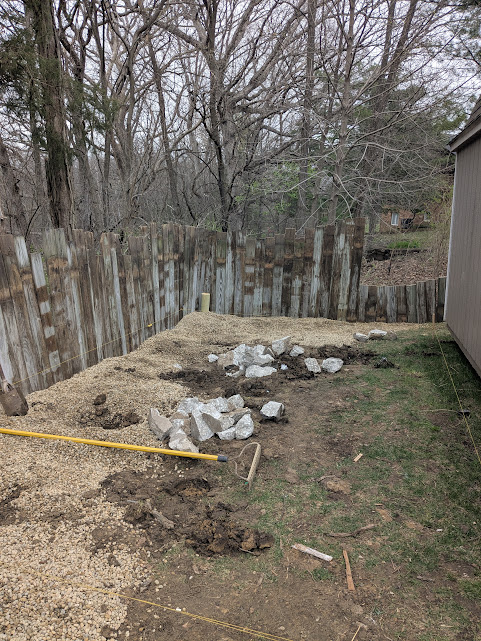
I used up the pea gravel and by this time, the CA-6 (crushed limestone) base for the building had been delivered. I started hauling it in and leveling it.
Once I got the gravel to grade I finished off the fence. I cut the top level and added a trim board.
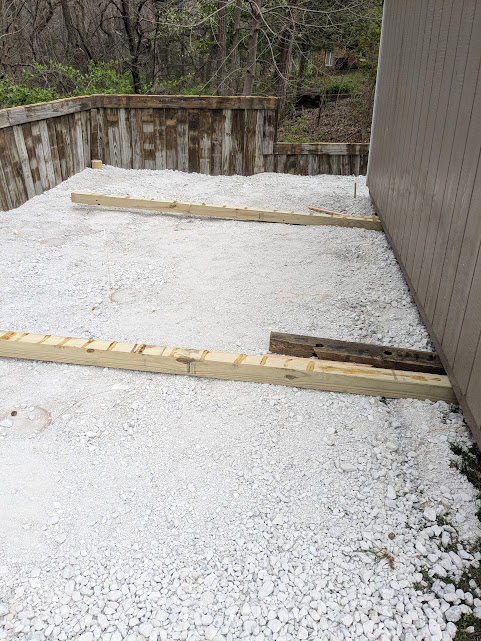
When I moved the shed from it’s original location, I used telephone poles that allowed the shed’s 4×4 floor supports to roll right along. This time, it wouldn’t work the same way. The supports were perpendicular. The poles would just fall down between the supports. So I came up with another plan.
I would use 4×4’s for the shed to sit on and I would push the shed into place on those 4×4’s. Not as an elegant and smooth solution but it would work. The building was still resting on a couple of poles so I slid the 4x4s under the shed and lined them up along the footings (see photo).
To help the shed slide on the boards, I literally greased the rails. I got some old bearing grease and spread it on the boards.
Once I was ready I tried again to move it myself but I just didn’t have the power. I talked to my neighbor and he said he was all in. So the big push was on.
It took a couple of times of pushing then checking on the positioning. But it went almost exactly how and where I wanted to go. The shed was home.